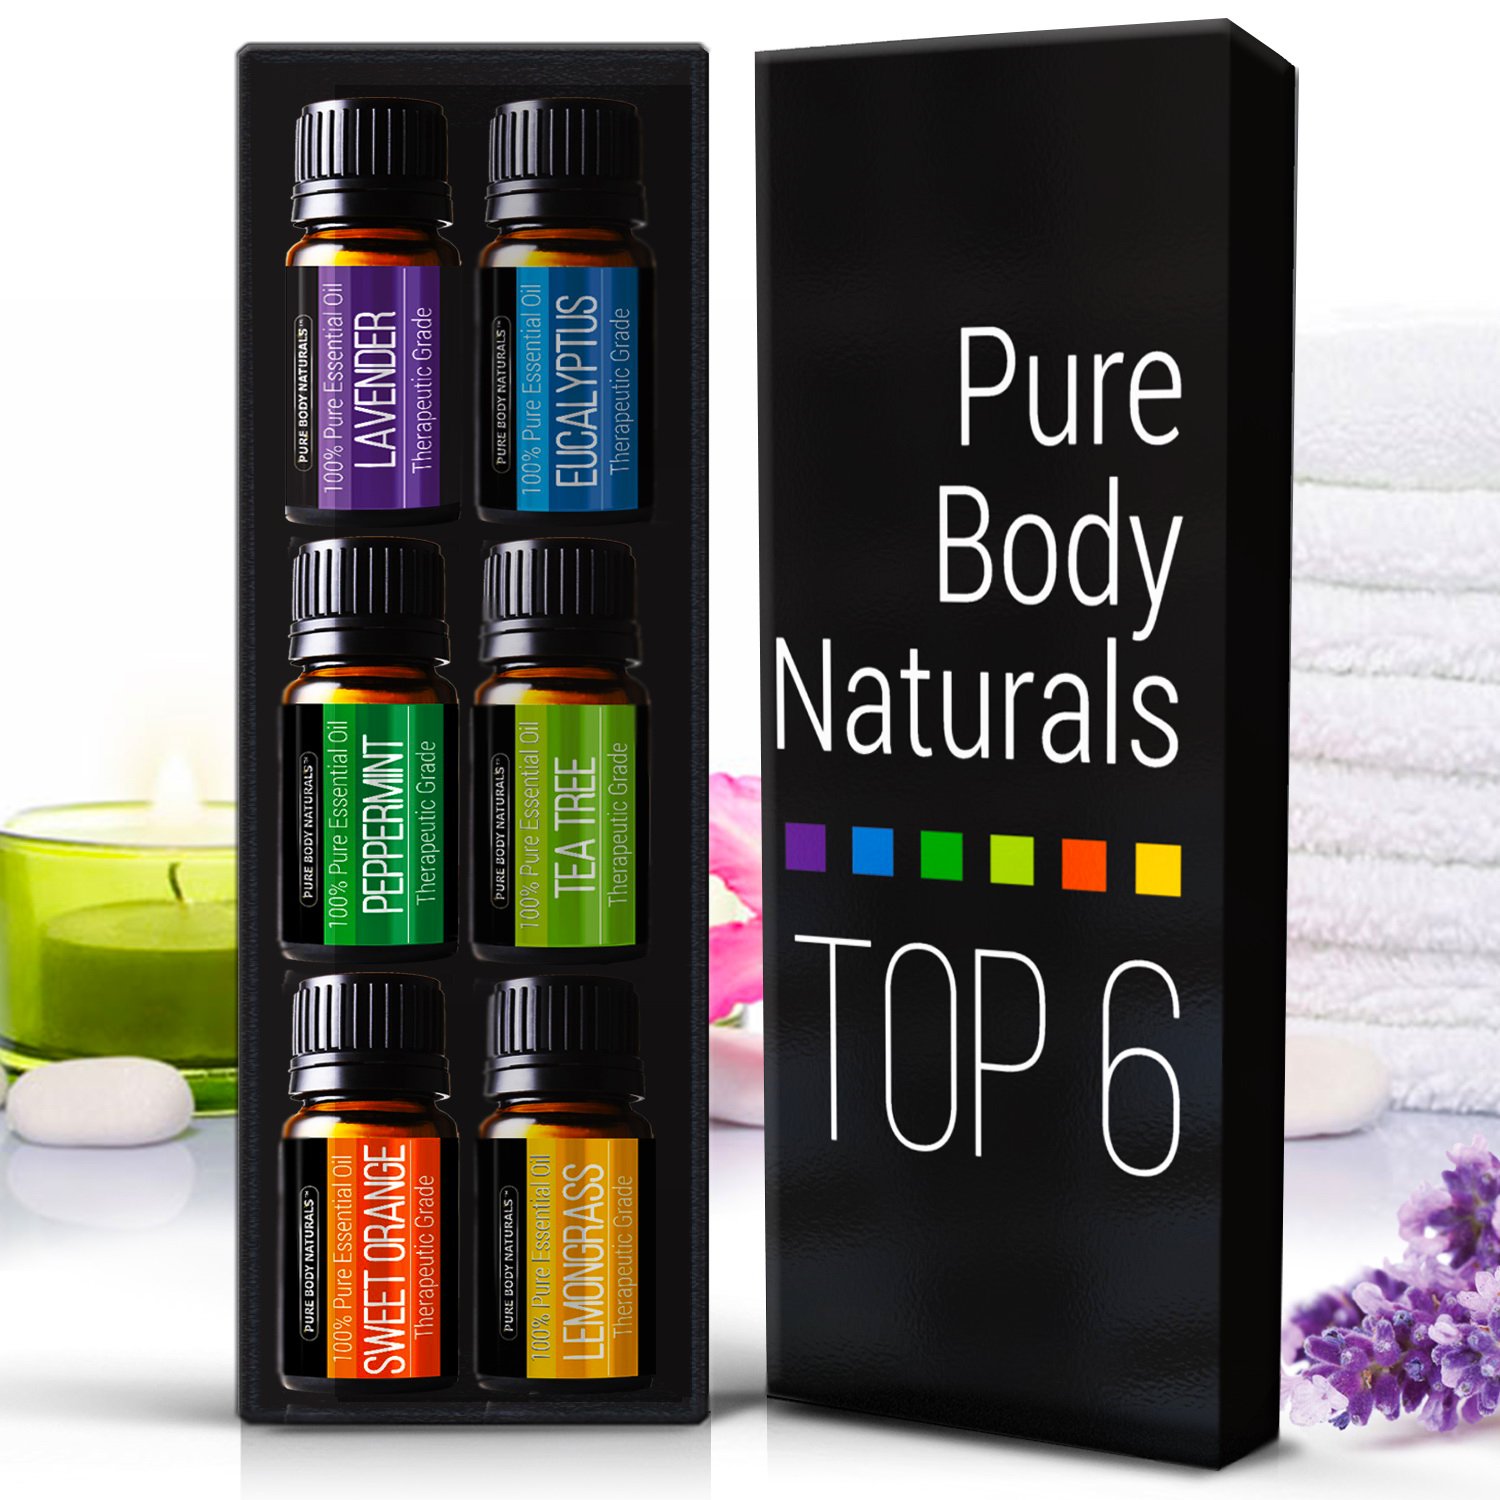
Tuesday, March 16, 2010

The Snuggles Project

A few years ago I came across this great project called The Snuggles Project.  It's all about making little pads/blankets for animals at shelters.  You can go to their website at http://www.snugglesproject.org/ and look up what shelters are around you and whether or not they are associated with the Snuggles Project.  Even though my local humane society is not listed as being a member, they still love it when I bring in some Snuggles for them!  The website also has some great patterns, whether you want to sew or crochet or knit, but honestly, I have a technique that I feel is SO simple and I can whip out 6-8 snuggles in one hour.

Whenever I am thrift shopping, I always browse the pillowcase area and look for any pillow shams that catch my eye and aren't too expensive - I won't pay more than 50 cents a piece for them, and most of the time I only pay around 10 cents each.  Keep in mind, these are puppies and kitties.  They don't care what pattern or colors are on it - they just want something to snuggle with!  Just be sure there aren't any decorations, buttons, fringes, etc... on it, because they could easily choke on stuff like that.

So, I start off with my collection of pillow shams and wash and dry them all.

While you're at the thrift store, also keep an eye out for material to stuff the shams with.  I originally used flat batting, but that got expensive, so now I just go through the blankets section and find blankets that aren't too thick yet aren't too thin and are just a couple bucks.  I lay them out and cut out a piece to fit relatively well inside of the sham - once again, these are puppies and kitties.  They don't care if you cut the filling out perfectly.  They might even appreciate a bump here or there, who knows.

Once I have the filling cut out, I stuff it inside of the sham and flatten it out as best as possible, and then I sew a straight line going across the entire pillow sham, closing up up the opening.

At this point, you have a sealed snuggle that's probably pretty comfy.  Remember, though, that the shelters will be (hopefully!) washing these in between uses, so we need to make it more laundry-friendly.  If not, the filling will bunch up inside and they won't be able to use them again.  I go back with my sewing machine and sew a few more lines here and there.  I like to get creative and make them match the patterns, but, I'll repeat this again - the doggies and kitties do not care what these look like!  For that reason, this is an amazing way to learn how to sew, because it really helps you get a good feel of the machine.

After I sewed down all of the batting, I just cut off all of the ends of my threads - be sure not to miss any!  That's another thing that a pet could choke on, and that wouldn't be good!

Here's my collection for the day - took me less than an hour to create 6 of these to bring along to the humane society the next time I go.  I just love seeing them inside of the cages, too!  The animals sure seem to enjoy them.

Wednesday, February 24, 2010

New House

So, I haven't written a blog in so long - we've been terribly busy with buying a new house and everything else, but I am excited to be able to show off all of the hard work that I will be doing once we close on the house!  Here are some sneak peeks at what the house looks like now:

Here's the kitchen - I was relieved to see the floor is already laminate, because that's what we would have put in, anyways, but I just can't figure out the red striped wallpaper with light blue countertop, and if you open the cupboards, it's red gingham.  I'm guessing the previous owner was going for a "Red White and Blue" theme, but these colors just do not work.

This is something that I'm very, very excited about.  It's not much now, but there's a pond in the backyard!  I've always wanted to build a pond in my backyard and now I don't even need to build it - it's already there!  I can't wait til late Spring when I can get a start on making it beautiful!


This is the area that I have named "The Classroom" - I hope to do a lot of our learning and activities down in this room.  I love how the bookshelves are already built into the wall - I don't really have any ideas for this area, yet.  I'm trying to figure out the best thing to place here - a long folding table?  build a "bar"-like table that comes out of the wall and have chairs for the kids to sit on? Just leave it open?  Anyone care to share their input?

In all of this house hunting experience, I cannot believe the conditions that people allow themselves to live in.  All of the carpeting we've encountered has been disgusting.  I'm not talking about paths worn in where people walk a lot, a stain here or there - those things are completely understandable.  I'm talking about HUGE blood stains in every room of the house (from dogs we think?), gray carpeting that has turned black from it never being cleaned, we leave footprints when we leave the house from all of the dirt on our shoes.  Above every register in this house, there's a big black area from all of the dirt that the furnace has blown onto the wall and carpeting - I don't think this owner realized that you need to change your filter.  One house had chewed up gum stuck to the walls in the master bedroom... I just can't understand it!

Monday, January 18, 2010

Excellent Christmas Gift

I love this time of the year, because everything is on clearance after Christmas and I can get started on next Christmas's gifts!  Plus, when it's getting closer to the date, I can relax knowing I already have some of my Christmas shopping done, and it's a huge stress off of my shoulders.


My mom made these years ago, after she saw them featured on Martha Stewart.  They're really quite simple to make, and I feel like they are the perfect gift to give one of those people who already have everything.


To start off with, you need one of these paper mache reindeer - I got these guys at Michaels for 80%, which brought them down to around $1.50 each.  You'll also need gold bead garland. (or another color of your choice, I prefer the gold - my mom has made silver before and it just doesn't strike me as much)  It took me forever to find garland this year.  Normally, you can buy it at the dollar store, but everywhere I checked didn't have any.  I found some at CVS, but they only had 2 containers worth, which wouldn't even have done 1/4 of the deer.

Then, while shopping in Michael's clearance, I found what I was looking for - only problem is they are double stranded.  I examined it for awhile and figured out that it was just a thread holding the two strands together and it could easily be taken apart.  These garlands were normally $3.99 each, but I got them for $0.79 a strand - which is an extra bonus, because you're actually getting 2 strands.  For each deer, I used 4 1/2 of these packets, or 9 strands.  The only downfall is that these beads are rough and have a design on them - I've only used smooth beads in the past, but they still worked!  Oh yea, you'll also need a glue gun and glue.  Lots and lots of glue.  I think I went through maybe 20 sticks per deer?  Maybe that's not a lot.  It just seems like a lot to me.


Anyways!  You start off (I like to start at the neck) and you just put down a couple drops of glue, and attach the beads to it.  At first, you need to hold on the beads until the glue is dry and hard, but once you get going you don't really need to worry about it anymore.  By the way, you'll probably need a HOT glue gun - I've used the Low Temp guns before, and the beads just fall away from the deer at the slightest tug, but High Temp guns work great.  Except I actually melted some beads this time... just don't hold your gun directly against the beads for a long period of time and you won't have to worry about that... lol.. don't ask what I was trying to achieve by doing that.


So you keep putting on more and more rows of beads - lining up the beads to fit into the space in between the row before it, like shown.  Keep wrapping and wrapping and wrapping until ...


Your entire deer is covered!  It takes quite awhile - I like to do this while watching a movie or something to make the time go by faster.  Once you get to the more detailed areas (horns, etc..) you're going to have to cut small sections of beads instead of having a continuous strand.

Then, I go back over my deer and pick off all of those little threads of glue and any glue chunks (you can see a glue chunk in the up-close photo above) that I can get off without hurting the deer.  I've also taken a hair dryer to the deer before, to melt any excess glue back into place.  I'm sure you could use a heat gun, as well, just be sure not to hold it in any place for too long, or you'll melt the glue entirely and the beads will slide right off.


I like to finish off my putting some festive ribbon around the neck of the deer.  (The picture above is of the smooth beads.  By the way - in that picture, there's a nasty looking open patch on the deer's back where the beads don't quite go together - it honestly doesn't look like that in person, it must have been the flash that exaggerated it.)  I just tie the ribbon in a simple knot, I'm not too creative with things like that.  My mom makes extravagant bows out of the ribbon and then adds a sprig of red berries.  I'll just stick with my knot ;)

So, I've you're interested in this at all, get to Michaels fast!  They might already be sold out, but I went a few days ago and wiped out all of the Michaels stores around me and got enough to make 5 deer.  When buying on clearance, each deer comes out to under $10 worth of supplies, which I think is a great deal!

"not me" Monday - #1


Welcome to Not Me! Monday! This blog carnival was created by MckMama. You can head over to her blog to read what she and everyone else have not been doing this week.


So, I've never participated in this before, but after what didn't happen, I knew I had to.  Here goes:


During this past week, I didn't run out of dish detergent and I didn't forget to pick it up every day for three days in a row that I went to the store.  Nope, not me.


I absolutely didn't decide to do my dishes anyways and put dish soap in the compartment where the dish detergent is suppose to go.  Of course not.


...and I didn't walk in 15 minutes later to find half of the kitchen floor completely covered in bubbles...


By no means did I wait a few hours for the bubbles to go down, only to try it again and have the same thing happen.  No one, especially me, would be that silly.


And while those white, soapy suds were running down the front of my dishwater,  I never once considered allowing them to re-create the scene I walked in on and cleaned up too quickly to snap a pic, in order to share it with all of you.  Definitely not me.


Thursday, January 14, 2010

Oh my... Geese

Every Thursday is our Pizza day.  Today we ordered pizza for delivery and the delivery guy mentioned something about the geese out on our lake.  Yea yea.. we have geese.. we have to listen to them honking every morning..

Then we looked out...


Temporary Post

M9CUSXDM75YU

Wednesday, January 6, 2010

My Printies - Amazing Gift Idea


I was looking for the perfect gift for Jase for Christmas - there's tons of stuff that he says he wants, but he already has a few hundred giraffes, so I wanted to get him something else.  Then, Make & Takes hosted a giveaway for My Printies.  I didn't even wait for the giveaway to be over, I went out and instantly ordered it for Jase.  My Printies is this amazing kit that makes your kid able to create their own stuffed animals, with very little adult help.

The software on the program was pretty buggy for us, so I had to do the computer part of it, and make sure the paper was inserted the correct way in the printer - but this paper is so cool!  It's actually the fabric part of the stuffed animal, all pre-sewn, so there is absolutely no sewing involved in making these stuffed animals!  Once you design your pet on the computer, you print it out and let it dry (by the way - it says for 5 minutes, but our handles turned completely blue from the hippo after it had been sitting there for about 10 minutes, so you might want to wait a half an hour or so - but who can wait that long when they're so excited to stuff their own stuffed animal?!)

After it's dry, it's time to stuff!  The kit comes with pre-measured stuffing for each animal, along with a stuffing tool to make sure you can get it into the tips of the ears, arms, etc...


(That would be the hippo that turned us all blue.)

Once you're finished, you just snap on the feet and that seals it up!  Now, we had quite a bit of problems with the feet - they say to make sure there's enough stuffing in them so that they don't slide off, but no matter how much stuffing we put near the bottom, the feet kept coming off, so we decided they would just have to be glued on.

For $19.99, Jase got to design and create 6 different stuffed animals.  (He even made a little safari guy with his own face on it!)  In my opinion, that's not a bad price at all.  He absolutely loved it and kept asking to make more.  You can get a refill kit that makes 3 more pets for $12.99, but honestly, it's a better deal to just keep buying the starter kits, in my opinion.


Here he is, stuffing his baby lion.  I could have sworn I took a picture of all his completed stuffed animals, but I can't find it right now!